


Microsoft Entra Global Secure Access (GSA) is a cloud-based Security Service Edge (SSE) solution that includes Entra Private Access to provide zero-trust network access to private data and applications, and Entra Internet Access to provide security controls for general internet access. Entra Internet Access includes features such as web content filtering, AI prompt controls, TLS inspection, and more. Entra Private Access and Entra Internet Access share a common client: the Global Secure Access Client.
TLS Inspection
TLS inspection is a powerful feature of Entra Internet Access that allows inspection and policy enforcement for encrypted internet traffic. It enables more thorough inspection and is required for features such as AI prompt policies. When TLS inspection is enabled, the TLS connection from the target server (origin server) is terminated by the Entra service. A new session is created between the cloud and the endpoint using a dynamically generated TLS certificate issued by Entra. As Entra holds the private key for this certificate, it can decrypt and inspect traffic as necessary.
Always On VPN
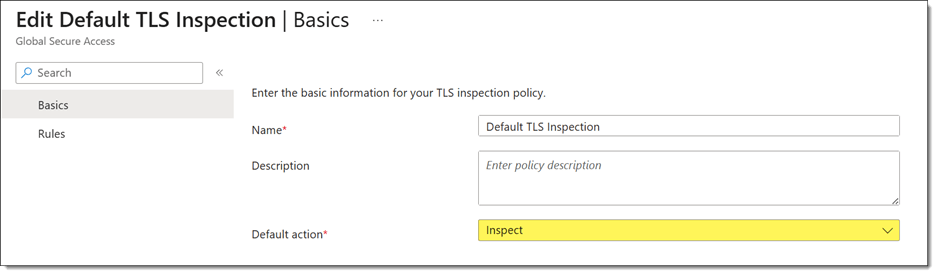
Recently, a customer asked me to help troubleshoot an Always On VPN user tunnel connectivity issue. The problem began shortly after deploying the Global Secure Access client with TLS inspection enabled. Administrators had configured the default TLS inspection policy to inspect traffic for all websites.
User Tunnel Failures
Attempts to manually start the Always On VPN user tunnel resulted in a failed connection attempt with the following error message.
Error 0x800704D4: The network connection was aborted by the local system.

Event Logs
Reviewing the client event logs revealed numerous Event ID 20227 entries from the RasClient source with the following error message.
The user DOMAIN\User dialed a connection named [connection name] which has failed. The error code returned on failure is -2147023660.

Note: Error code -2147023660 is the decimal equivalent of 0x800704D4.
Troubleshooting
Initial testing with Test-NetConnection confirmed that TCP port 443 on the VPN server was reachable. However, using Get-TlsCertificate revealed the real problem.

Although the certificate subject matched the VPN server, the issuer did not. Instead of the VPN server’s issuing CA, the certificate had been issued by Microsoft Entra Global Secure Access, confirming that TLS inspection was intercepting the connection.
SSTP and TLS Inspection
The Secure Socket Tunneling Protocol (SSTP) is a Microsoft proprietary VPN transport that uses HTTP for tunneling and TLS for security. Unlike a web browser, which can establish a new trusted TLS session with an inspection proxy, SSTP validates the VPN server’s certificate as part of establishing the VPN tunnel. Any certificate substitution, even by a trusted TLS inspection service, changes the server certificate thumbprint and causes SSTP validation to fail.
Workaround
The solution is to create a TLS inspection exclusion policy to exempt inspection for the VPN server FQDN(s), as shown here.

Summary
Microsoft Entra Internet Access TLS inspection can unintentionally interfere with Always On VPN deployments that use SSTP. Because TLS inspection replaces the VPN server’s certificate with one issued by Microsoft Entra, SSTP detects the certificate mismatch and terminates the connection. If you use Always On VPN with Entra Internet Access, configure a TLS inspection exclusion for your VPN server FQDNs to prevent interception while preserving TLS inspection for general internet traffic.
Additional Information
Always On VPN vs. Entra Private Access: Choosing the Right Access Model for your Organization
What is Microsoft Entra Global Secure Access?
Microsoft Entra Internet Access
Microsoft Entra Private Access


